

My Favorite All Buttah Pie Dough
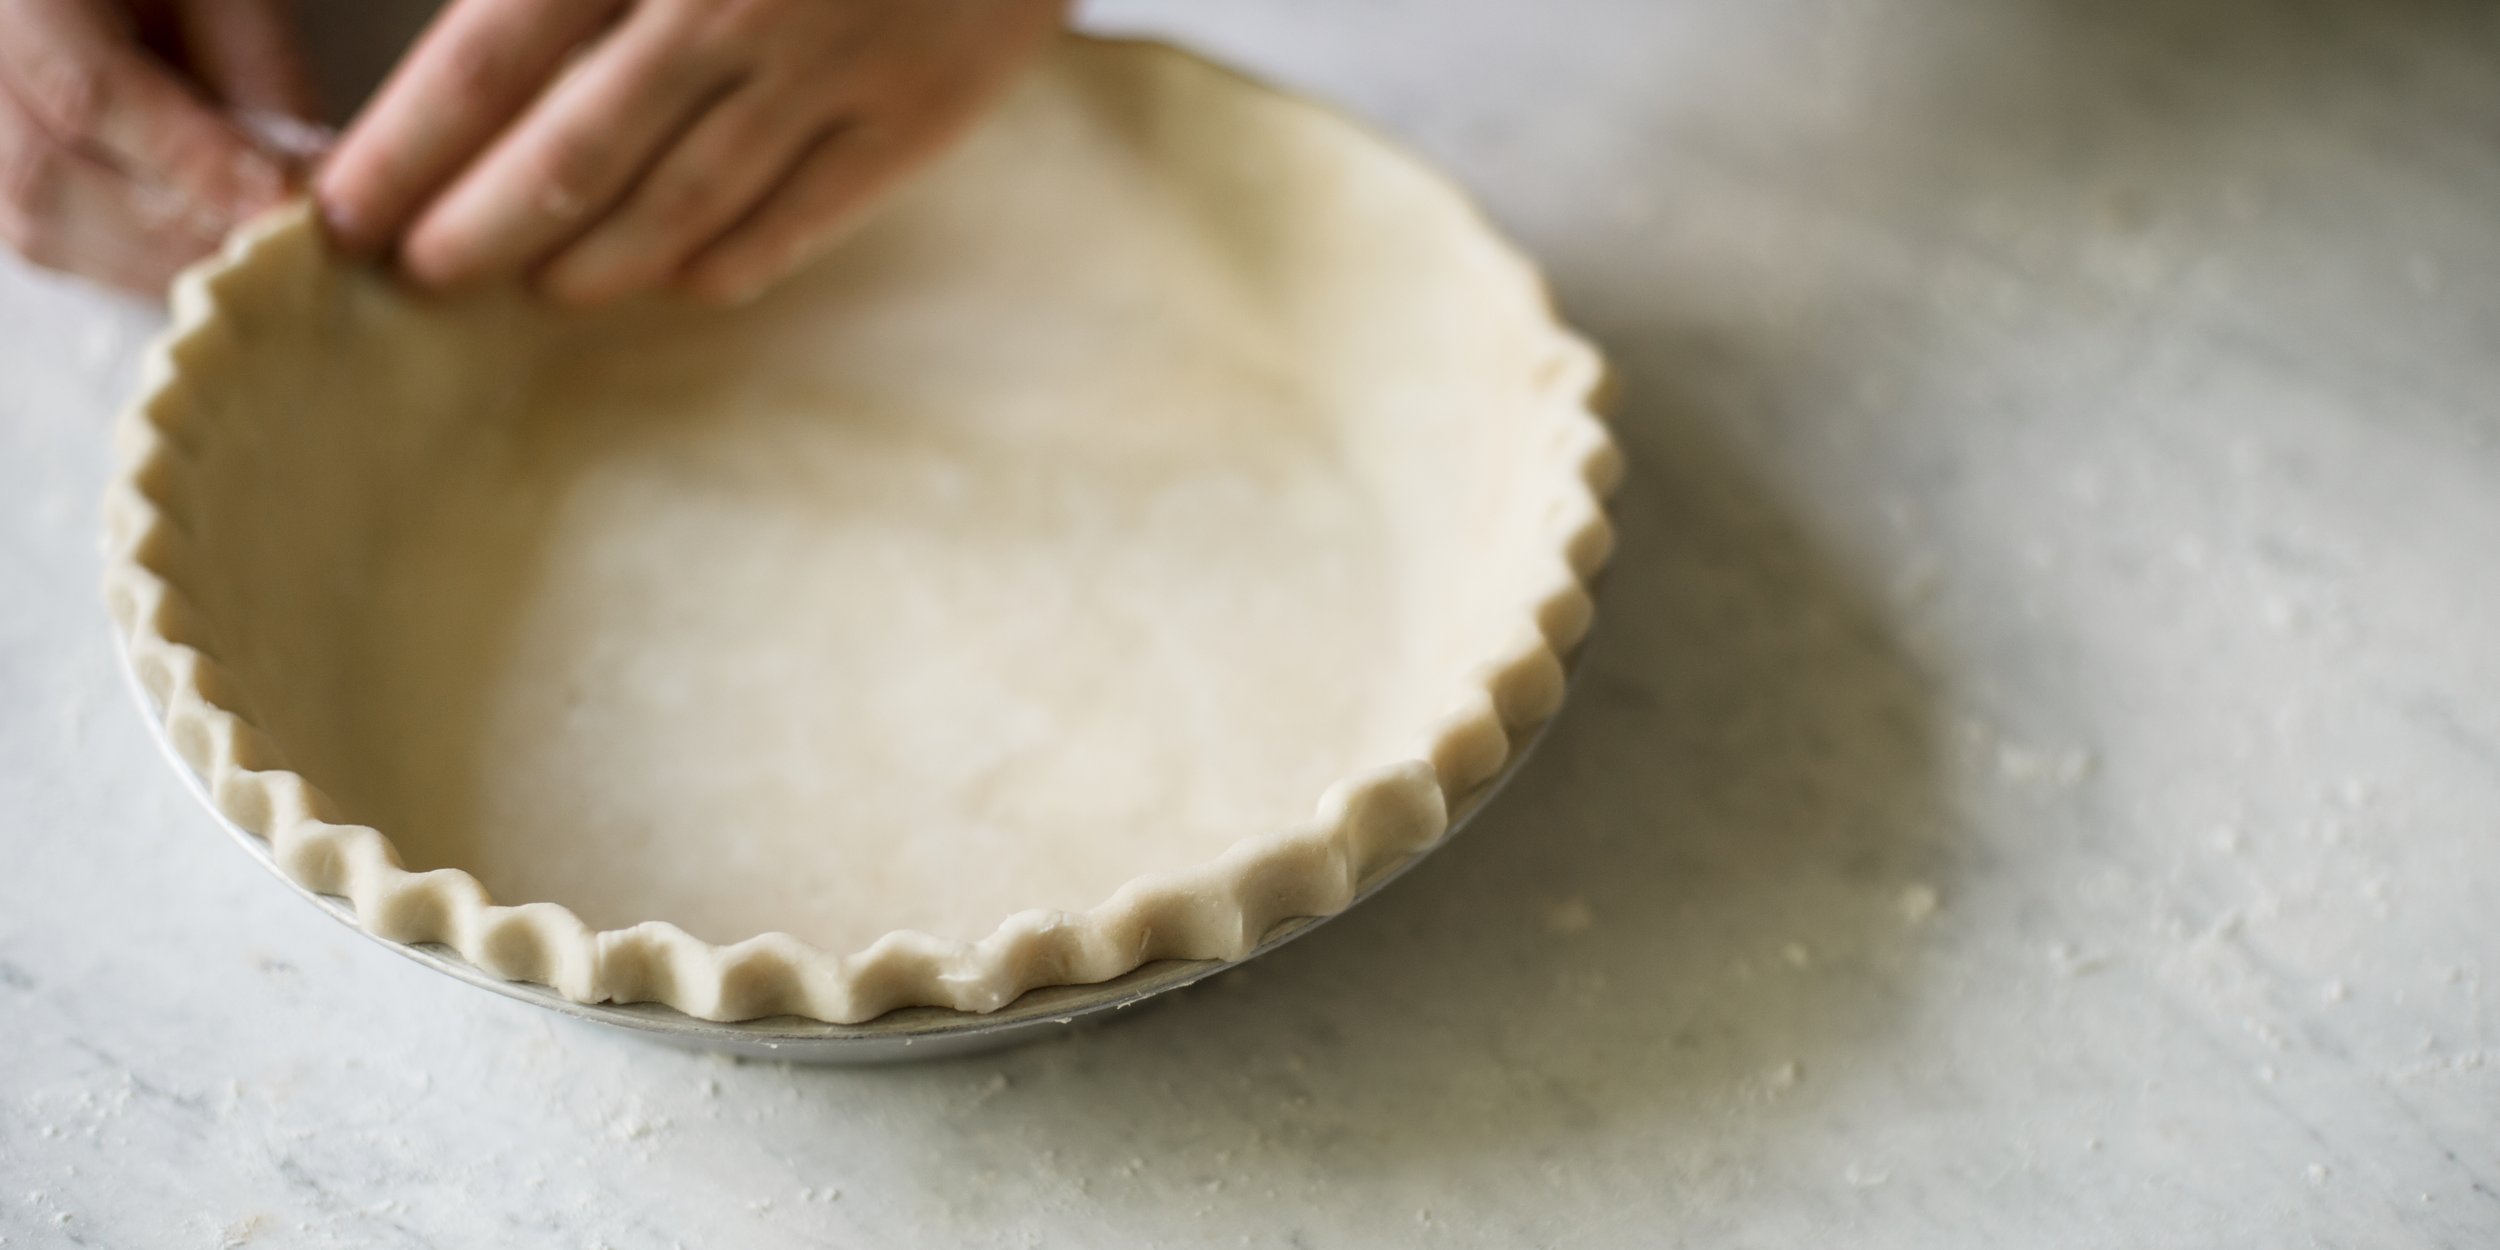
Photo by Jennifer May
MAKES
One 9 inch / 23 cm pie (about 325 g / 11 ½ ounces)
TAKES
Prep time: 2 hours (including chill time)
Cook time: 0 minutes
Total: 2 hours (including chill time)
✻ ABOUT THIS RECIPE
I started baking pies with my Grandma when I was fourteen years old. Fast forward many years, and my pie dough recipe (made with all buttah, bay-bee) + detailed method have helped pie bakers all around the world bake better, flakier, more delicious pies - and even pass the #sturdypiechallenge. Don’t forget to check out my YouTube channel for step by step advice on all things pie - plus tons more pie recipes, tips, and tricks. Now come on: let’s bake a pie.
INGREDIENTS
150 g / 1 ¼ cups all purpose flour
1 g / ¼ teaspoon fine sea salt
113 g / ½ cup (4 ounces) cold unsalted butter, cut into ½ inch/1 cm cubes
60 g / ¼ cup ice cold water, plus more as needed
Watch Me Make This Recipe:

METHOD
1. In a large bowl, whisk together the flour and salt. Add the cubed butter, tossing the cubes through the flour until each individual piece is well coated. ‘Cut’ the butter into the flour by pressing the pieces between your fingers, flattening the cubes into big shards. As you work, continue to toss the butter through the flour, re-coating the shingled pieces.
2. For a flaky crust, continue cutting the butter into the flour just until the largest pieces of butter are about the size of walnut halves - some pieces will be smaller. Or, for a mealy crust, continue to work the mixture together until the largest pieces of butter are about the size of peas - some pieces will be smaller.
3. Make a well in the center of the flour mixture. Add the amount of ice water listed in the recipe to the well, but have more on hand. Use a tossing motion with your hands to start to mix the two together (this begins to combine them without creating too much gluten). As it begins to become hydrated, you can start to use more of a kneading motion to bring the mixture together.
4. Add more water about 15 g / 1 tablespoon at a time until the dough is properly hydrated: it should be uniformly combined and hold together easily, but it won’t look totally smooth. Dough that is too dry may have sort of a “dusty” appearance, or pockets of un-hydrated flour. It will not hold together and will appear crumbly. Dough that is too wet will feel sticky or tacky to the touch, and is often smoother and/or lighter in color.
5. Form the dough into an even disk (or into another shape if directed by the recipe – or if you are multiplying the recipe to make multiple crusts, divide the dough appropriately). Wrap tightly in plastic wrap and refrigerate for at least 30 minutes-1 hour.
6. On a lightly floured surface, roll out the dough to about ½ inch / 1 cm thick (the exact shape and size doesn’t matter here, just the thickness). Brush away any excess flour from the surface of the dough, and fold it in half horizontally. Then, fold the dough in half again (you’ve now folded it into quarters).
7. If the dough feels sticky or soft to the touch, re-wrap it in plastic wrap, and refrigerate it for 30 minutes before proceeding. If it doesn’t, repeat step 5.
8. Tuck the ends of your folded dough under itself to create a round disk of dough. Wrap it tightly in plastic wrap, and refrigerate for at least 1 hour, and up to 2 days before using. Or, freeze for up to 3 months (thaw overnight in the refrigerator before using).
NOTES
To Roll Out the Dough
Lightly dust a work surface with flour, and lightly dust a rolling pin, if desired. Roll out the dough to about ¼ inch / 6 mm thick, rotating it as you work to help prevent it from sticking. To transfer the dough to the pan, gently roll it up, wrapping it around the pin, then unfurl it into the pie plate.
To Prepare the Edge for Crimping
For a single crust pie, use scissors to trim away the excess dough, leaving about ½ inch / 1 cm excess all the way around the outside edge of the pie plate. Tuck this excess dough under, pressing gently to make it flush with the edge of the pie plate.
For a double crust pie, gently press the top and bottom crust together to flatten the dough slightly, then trim the excess and tuck under as directed for a single crust pie.
To Par-Bake the Dough
Par-Baking is partially bake the crust, before filling and baking again - best for any and all single crust pies like pumpkin, pecan, or cherry.
Dock the crimped single crust pie dough with a fork and chill well (at least 30 minutes, preferably 1 hour).
Cut a square of parchment paper slightly larger than the diameter of a pie plate, and press it into the base of the pie plate. Fill with pie weights to the top inner rim of the pie plate.
Bake in a 425°F / 220°C oven until the edges begin to lightly brown, 15-17 minutes.
Remove the parchment paper and pie weights, and return to the oven until the lower portion of the crust appears dry and set, 2-3 minutes more. Cool completely before filling.
To Blind-Bake the Dough
Blind baking is fully baking the crust, prior to filling with a filling that doesn’t require baking - best for cream and cold-set pies like coconut cream or lemon meringue.
Follow the instructions for par-baking, but bake until it is fully golden brown. After removing the pie weights, bake for 5-7 minutes. Cool completely before filling.

✻ HAVE YOU BAKED IT?
Tag @emcdowell on Instagram or use #happybaking. I’d love to see your bakes!